Knowledge base > Installation guides > ABAX GT107 - Vehicle
ABAX GT107 - Vehicle
INDEX
Installation Guide
Installation Guide
ABAX GT107 tracking unit
The ABAX GT107 tracking unit is designed for easy installation in both machinery and vehicles. The unit requires power from a constant 12V or 30V power source, for example from the vehicle battery or the fuse box. The yellow wire and connector can be used for other digital inputs, for example usage logging for machinery.

ABAX GT107 technical specification:
- Dimension: 90x44x18mm
- Weight: 70g
- Supply voltage: 9V to 30V DC, Typical 12V-24V
- IP67K
- GPS accuracy: 2,5 meter
- Temperature resistant: (-20°C to +70°C)
- Sensors: Accelerometer
- GNSS antenna
- Easy installation
Concealed external installation
For practical, aesthetic and security purposes, the best installation location for ABAX GT107 device is under the hood with the antennas pointing upwards. The logo/sticker will indicate the correct way to mount the unit.
- Locate the battery in your vehicle.
- If present, remove the battery cover to access the battery terminals.
- Decide on a mounting position – Usually, the best position is near the windscreen/scruttle panel .
- Clean the area with the cleansing wipe provided and use a paper towel to dry off.
- Peel off the double-sided tape and mount the device to your desired location.
- Fasten the black wire to the existing factory ground point or negative vehicle battery terminal and the red wire to the positive vehicle battery terminal. Ensure the terminals are firmly refastened.
- If the device is receiving power, the LED will blink.
- To finish, make a note of the vehicle registration number, vehicle mileage, and the main driver - give these details to your administrator together with the device serial number which is located on the box.
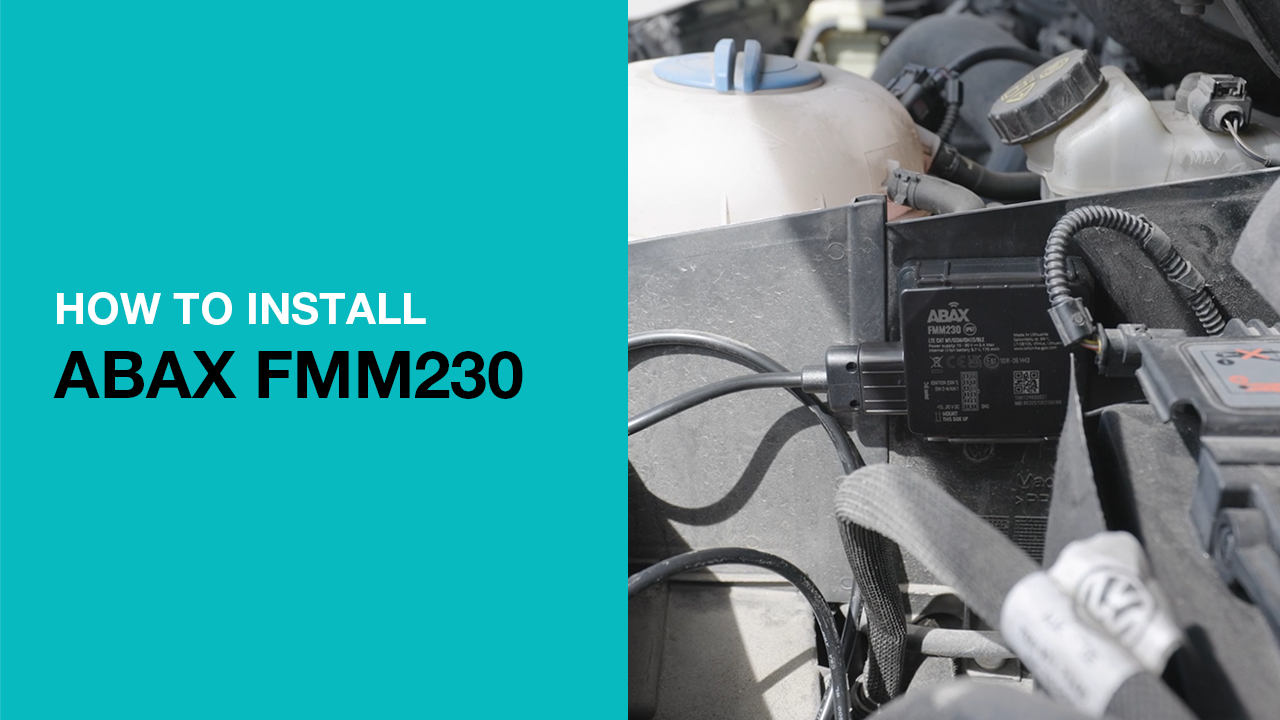
Installation video
You can watch this installation video for ABAX FMM230 - the principle of the installation is the same for the ABAX GT107.
The unit fits any vehicle type:
| Installation type: | Concealed |
| Estimated installation time: | 10 minutes |
| Required tools: | Flat head screwdriver, 10mm and 13mm socket drive |
| Red wire: | For permanent power |
| Black wire: | For ground (earth) |
| Yellow wire: | Secondary usage log |