Knowledge base > Installation guides > Equipment Control
Installasjonsguide for ABAX5
- for maskiner og utstyr
Installasjons detaljer
| Installation type: | 3 wire installation (Usage Logging) |
| Typical equipment: | Heavy plant machinery (Excavators, Diggers, Generators etc.) |
| Estimated installation time: | 20 minutes |
| Required tools: | Soldering iron, heat-shrink kit, multimeter |
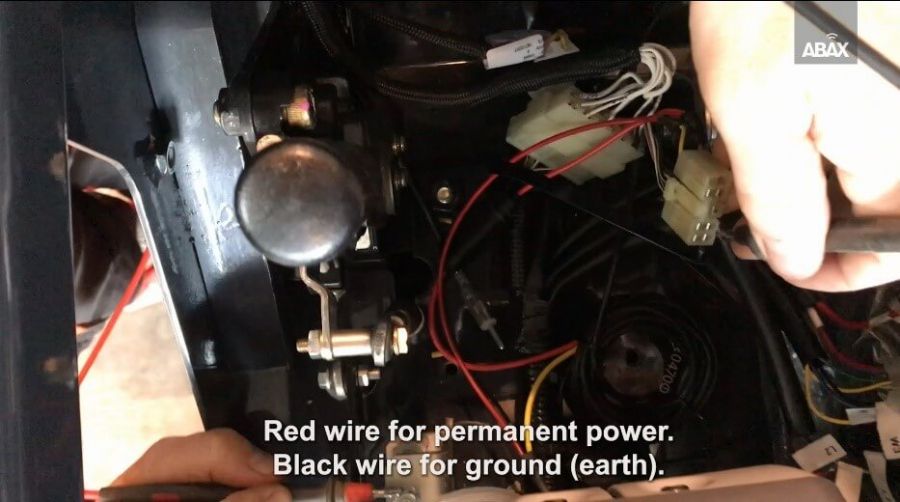
| Red wire: | For permanent power |
| Black Wire | For ground (earth) |
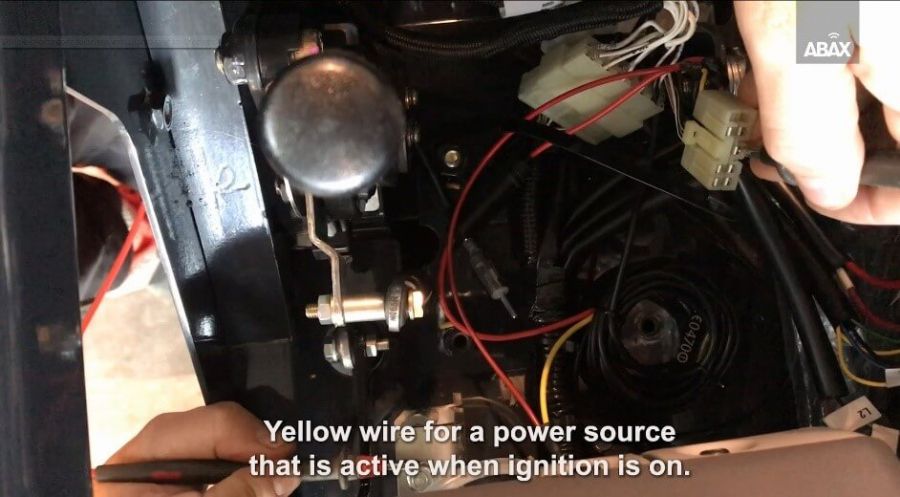
| Yellow Wire | For a power source that is active when the ignition is on |
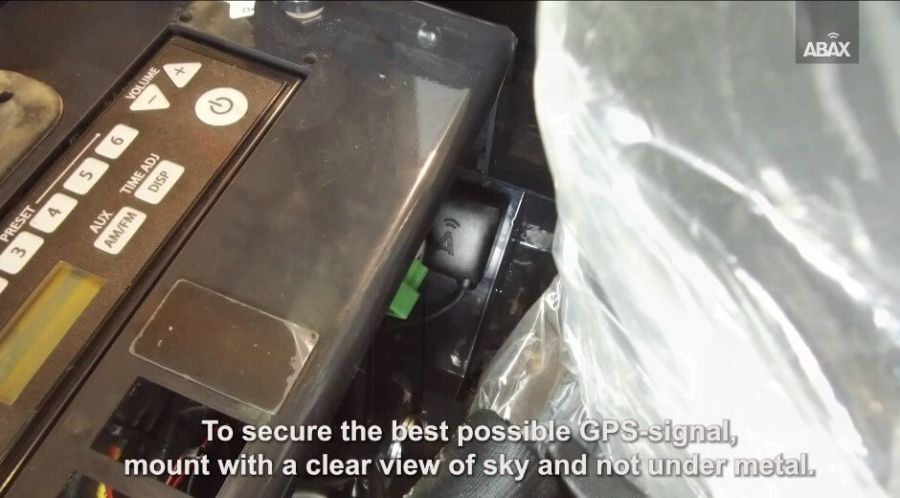
Do not mount the unit under metal as it may interfere with GPS signal strength.
Last ned installasjons pdf
EQ - 3 Wire Installation (Usage Logging).pdf
Se hvordan du installerer ABAX Equipment Control
Installasjonseksempel på gravemaskin
In this example, we will mount an ABAX Equipment control unit in a Hitachi excavator. Other plant machinery will differ, but the principles remain the same.

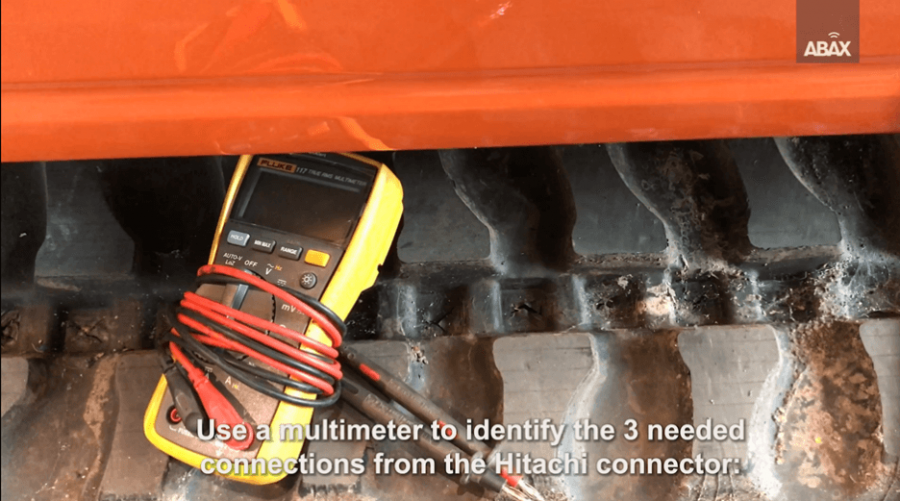
Use a multimeter to locate a source for a permanent power supply (12V or 24V), ignition feed and ground (earth). You will then likely need a soldering iron to make the necessary connections.
In this example, the power connections are easily accessible by removing the CD player and plastic cover. The unit can be mounted to the frame and the plastic cover will not obstruct the GPS signal.
In this example, power, ignition and ground are found using an existing connector block.
Use the multimeter to verify that the 12V/24V power source is permanent and that the ignition feed switches on/off with the ignition.
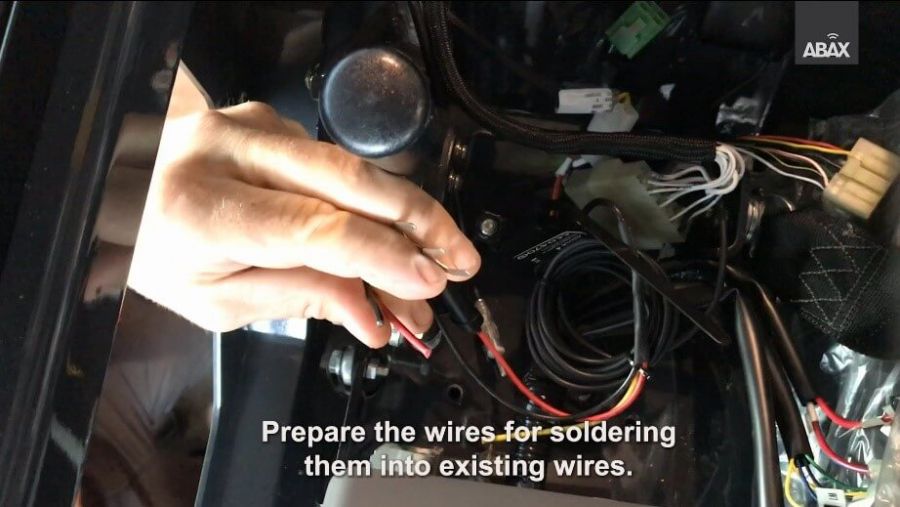
Prepare the ABAX wires for soldering.
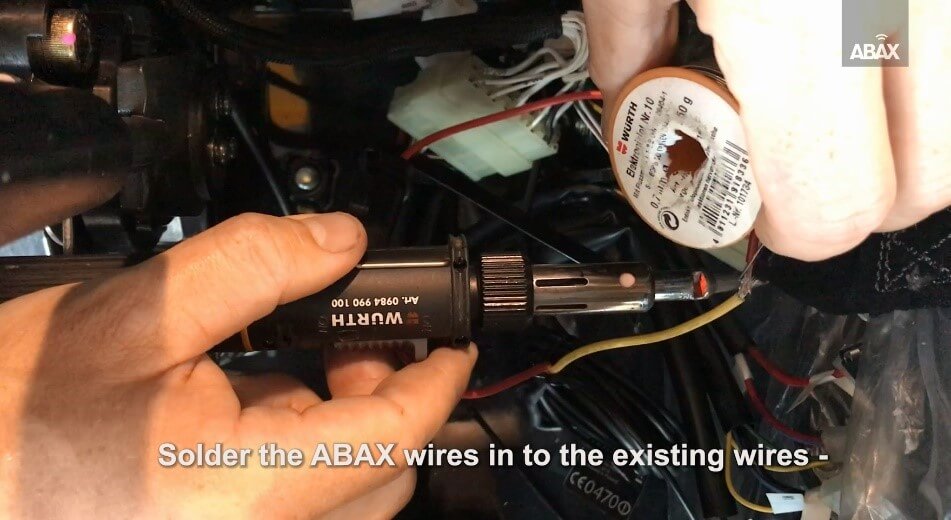
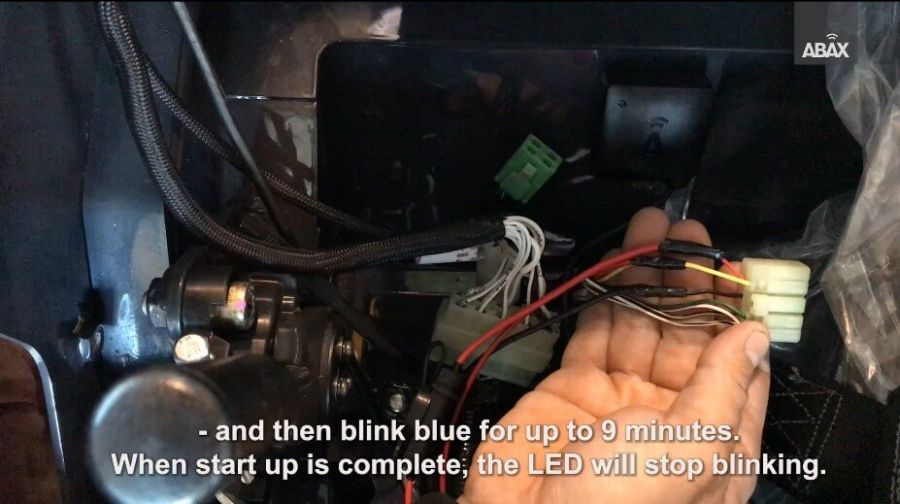
Use a solder iron or an appropriate connecting tool to connect the red wire to a permanent feed, black to ground and yellow to an ignition source. Where appropriate, cover with heat shrink tubing to prevent short-circuiting.
When the unit is receiving power, an LED light will blink.
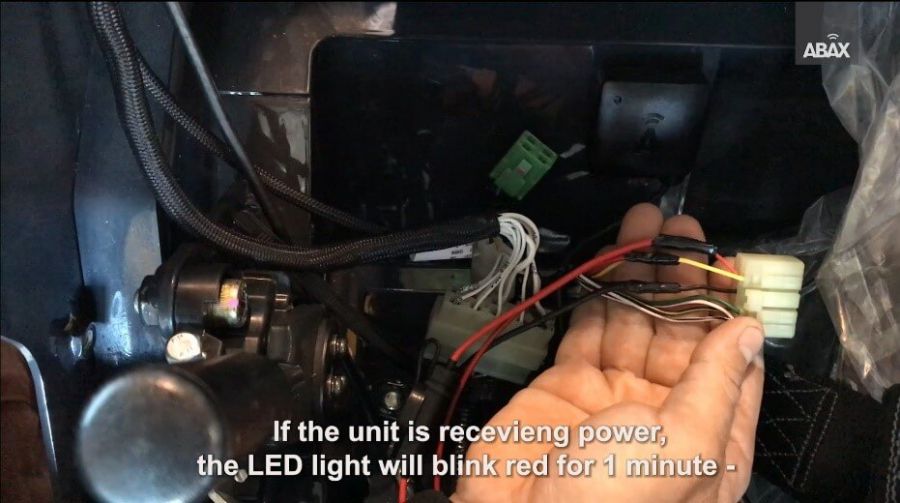
Details of the exact light sequence can be found in the box.
It is not essential to wait for the cycle to complete.
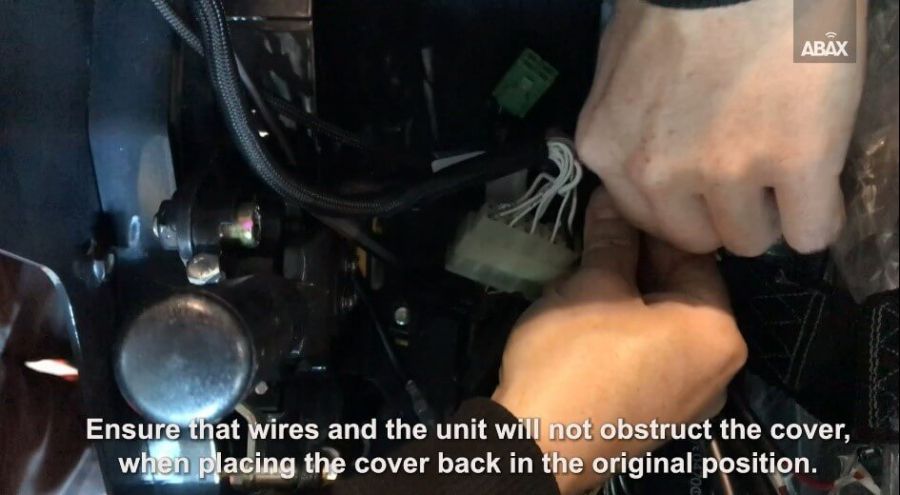
Secure and cable tie any loose wires. Ensure that they will not get trapped or interfere with hot or moving parts.
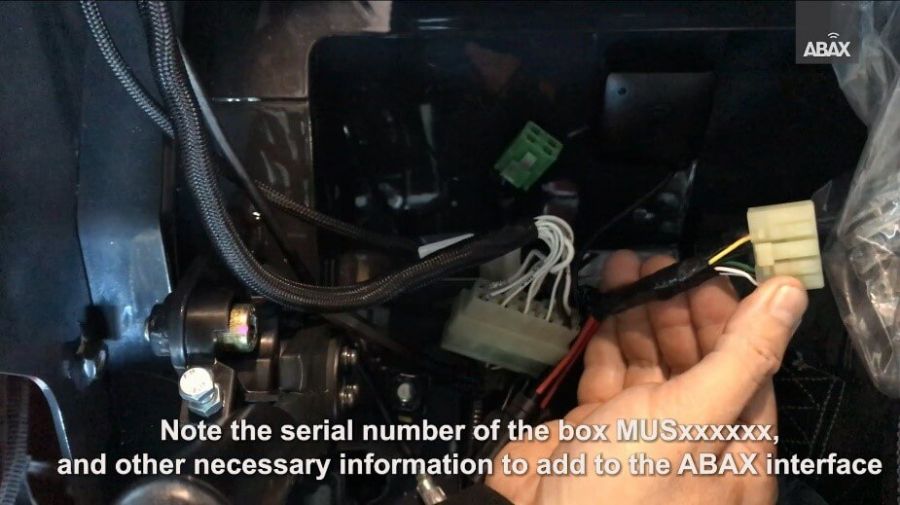
Make a note on the box of the details of the equipment, current running hours and serial number.