Tietopankki > Asennusoppaat > Equipment Control
ABAX 5 - machine
Installation details
| Installation type: | 3 wire installation (Usage Logging) |
| Typical equipment: | Heavy plant machinery (Excavators, Diggers, Generators etc.) |
| Estimated installation time: | 20 minutes |
| Required tools: | Soldering iron, heat-shrink kit, multimeter |
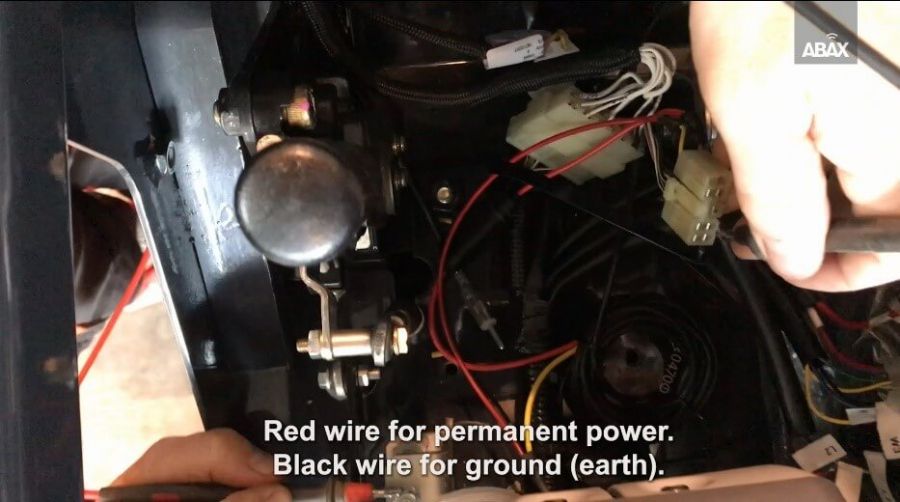
| Red wire: | For permanent power |
| Black Wire | For ground (earth) |
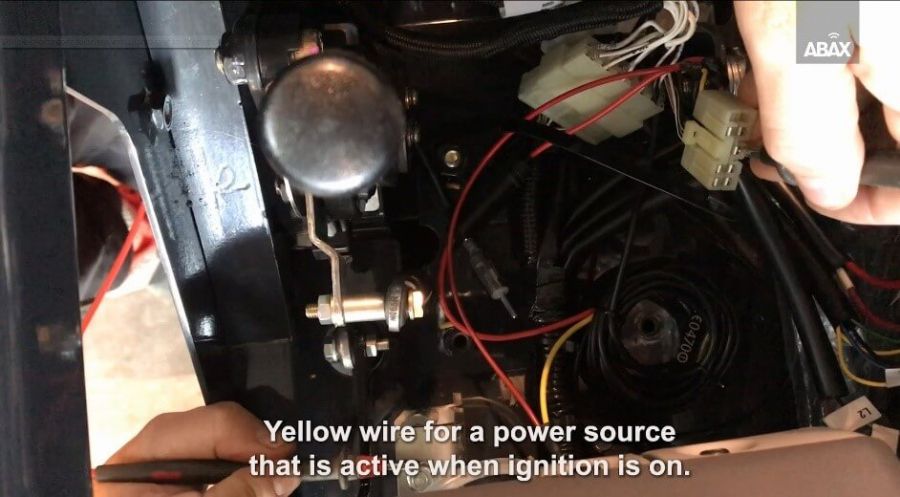
| Yellow Wire | For a power source that is active when the ignition is on |
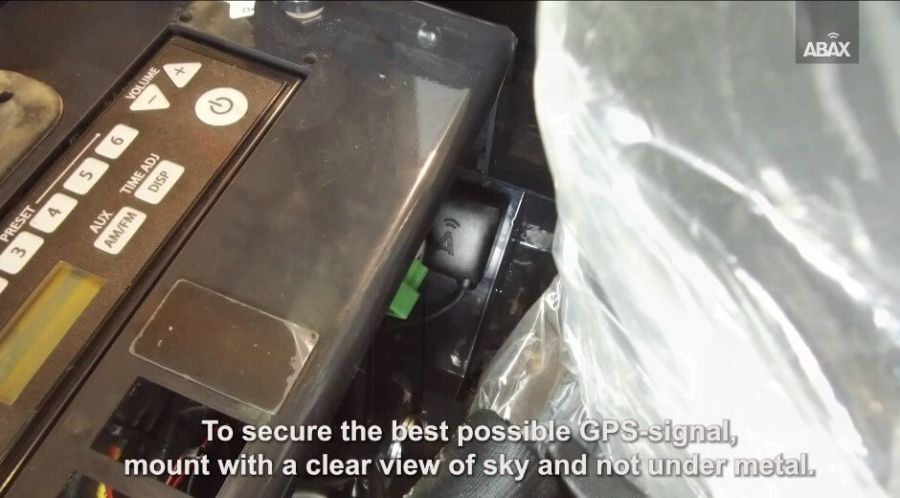
ABAX-laite toimii parhaiten, kun sen GPS-antenni saa vapaan yhteyden kohti taivasta. Se voidaan asettaa esimerkiksi muovikoteloon, mutta ei koskaan paksujen metalliosien alle. Silloin laite ei saa GPS-yhteyttä eikä siten myöskään tarkkaa sijaintia.
Download Installation pdf
EQ - 3 Wire Installation (Usage Logging).pdf
Asennus
ABAX-laite toimii parhaiten, kun sen GPS-antenni saa vapaan yhteyden kohti taivasta. Se voidaan asettaa esimerkiksi muovikoteloon, mutta ei koskaan paksujen metalliosien alle. Silloin laite ei saa GPS-yhteyttä eikä siten myöskään tarkkaa sijaintia.
Käyttölokia tallentava laite liitetään laitteiston akkuun ja virransytytykseen. Musta ja punainen johto kaapelikenkineen asennetaan laitteiston akkuun (punainen plus- ja musta miinusnapaan). Jotta laite voi rekisteröidä käyttöajan, pitää keltainen johto liittää laitteen sytyttimeen tai omaan sulakkeeseensa, joka saa virtaa vain, kun laite on käytössä (<8Vdc). Kun laite on oikein asennettu ja ABAXin Asiakaspalvelun puolesta oikeilla asetuksilla, se rekisteröi käyttötunnit heti, kun virtalukosta väännetään ja lopettaa rekisteröinnin ajoneuvon sammuttamiseen.

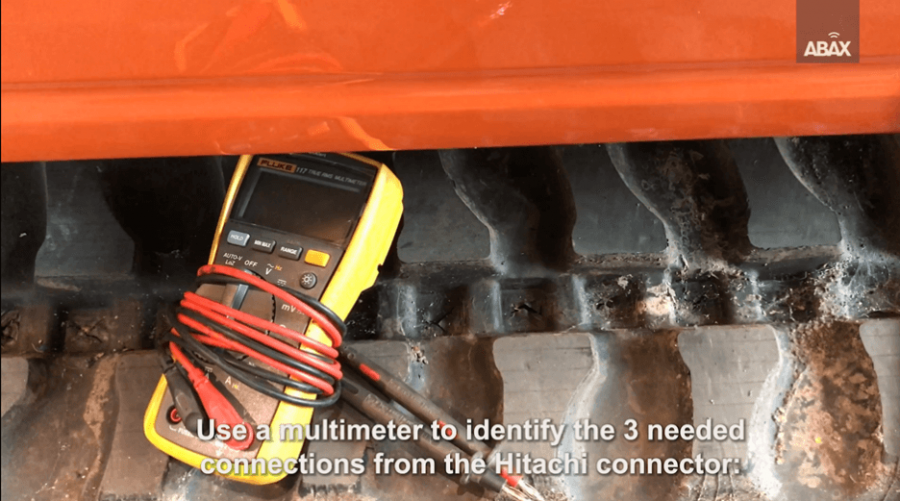
Use a multimeter to locate a source for a permanent power supply (12V or 24V), ignition feed and ground (earth). You will then likely need a soldering iron to make the necessary connections.
In this example, the power connections are easily accessible by removing the CD player and plastic cover. The unit can be mounted to the frame and the plastic cover will not obstruct the GPS signal.
In this example, power, ignition and ground are found using an existing connector block.
Use the multimeter to verify that the 12V/24V power source is permanent and that the ignition feed switches on/off with the ignition.
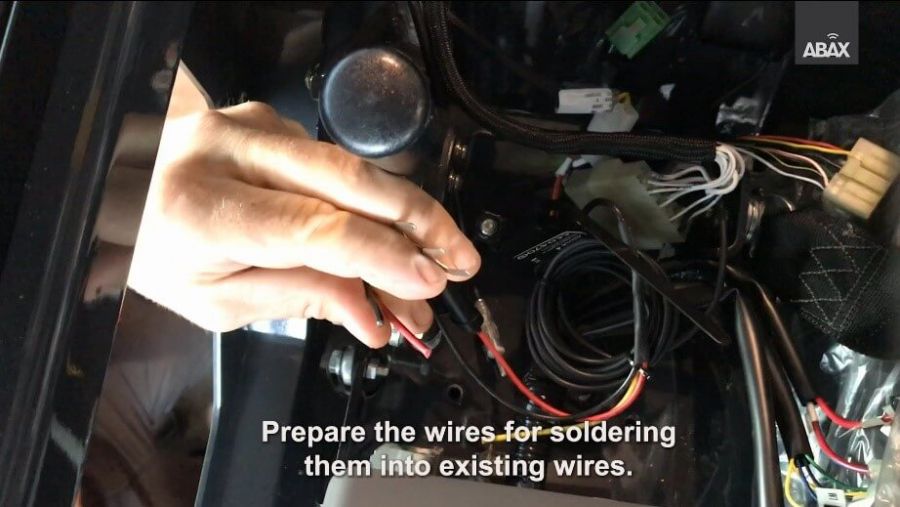
Prepare the ABAX wires for soldering.
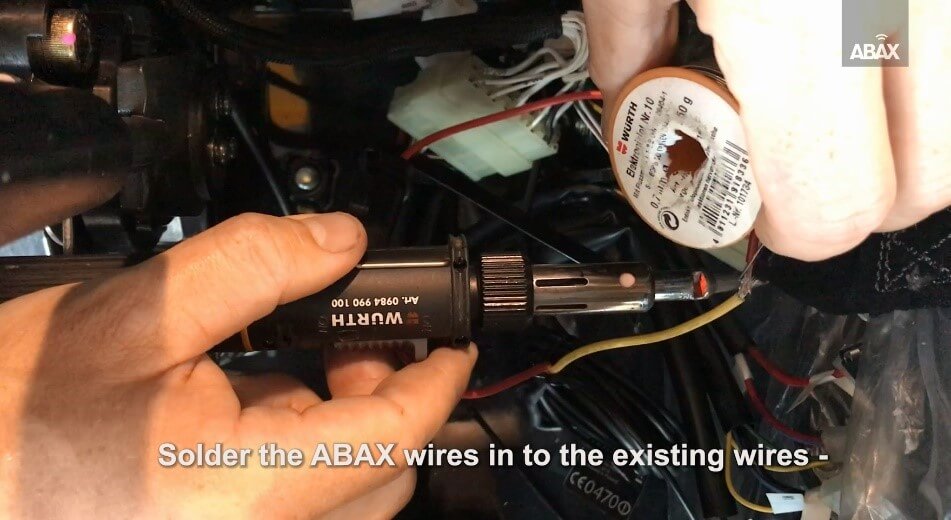
Use a solder iron or an appropriate connecting tool to connect the red wire to a permanent feed, black to ground and yellow to an ignition source. Where appropriate, cover with heat shrink tubing to prevent short-circuiting.
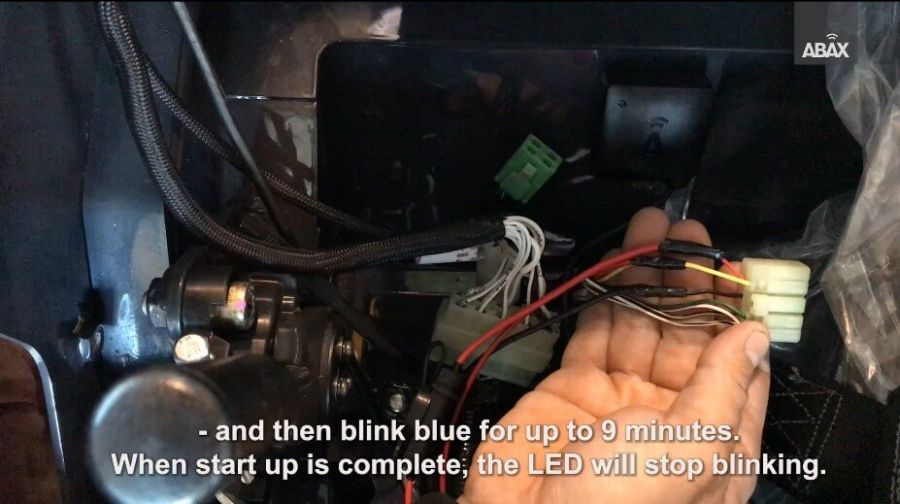
When the unit is receiving power, an LED light will blink.
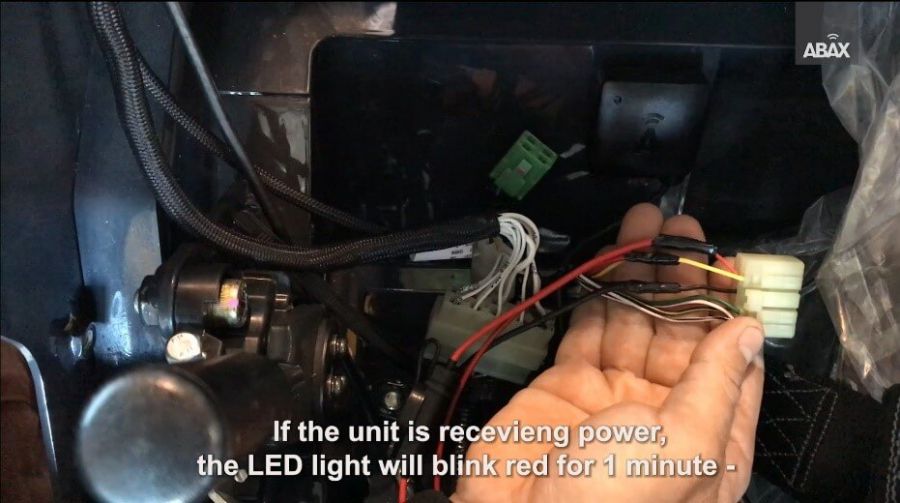
Details of the exact light sequence can be found in the box.
It is not essential to wait for the cycle to complete.
Secure and cable tie any loose wires. Ensure that they will not get trapped or interfere with hot or moving parts.
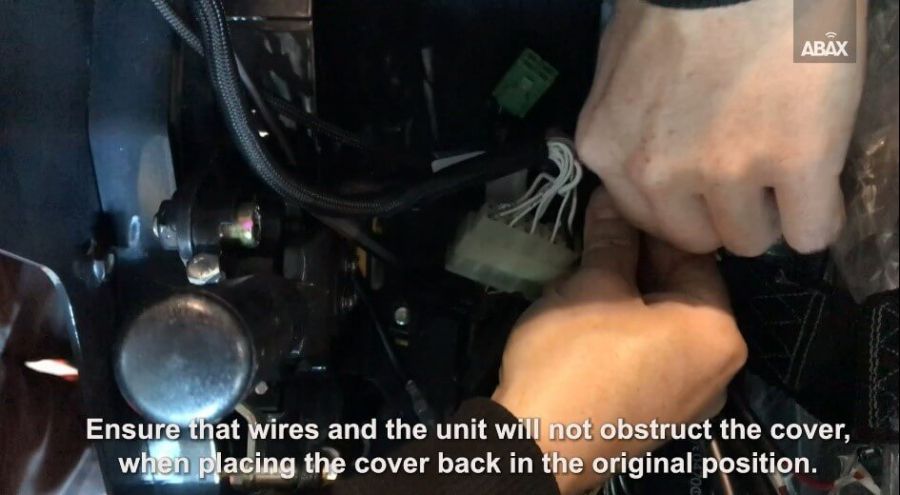
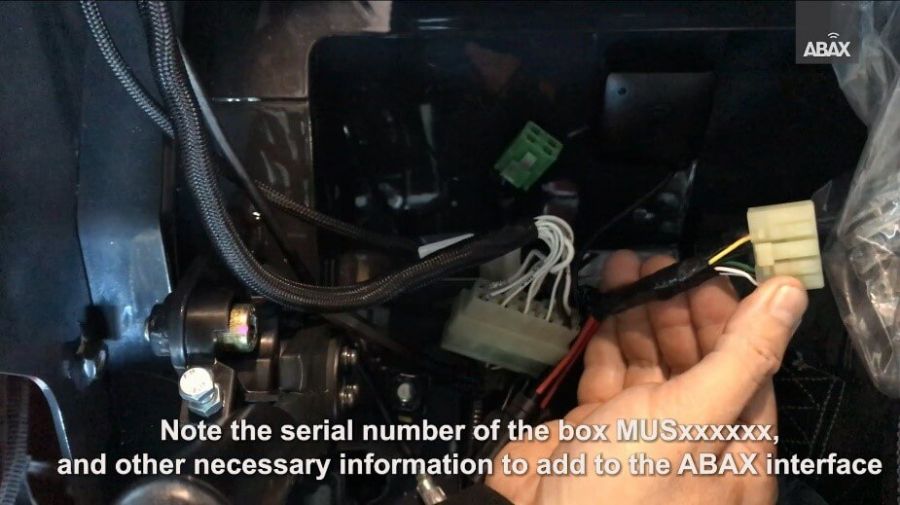
Make a note on the box of the details of the equipment, current running hours and serial number.